

 The notion of brain waves being able to exert sufficient energy to influence objects would involve nothing short of a miracle—especially considering that the radiance of the wimpy signals emitted by neural activity don’t extend beyond a few millimeters from the skull. Spoon benders need not apply. But moving a Tesla with your thoughts? That’s an entirely different matter!
Perhaps one reason why telekinetic control of your car does not currently appear on any automaker’s roadmap for the autonomous vehicle is the inevitable spike in road rage that would be sure to attend it. Think about it! But still, in the context of showcasing the future of human-computer interfaces, mind-controlled devices hold tremendous promise across an unlimited landscape of possibilities.
But let’s get back to the mind-controlled Tesla.
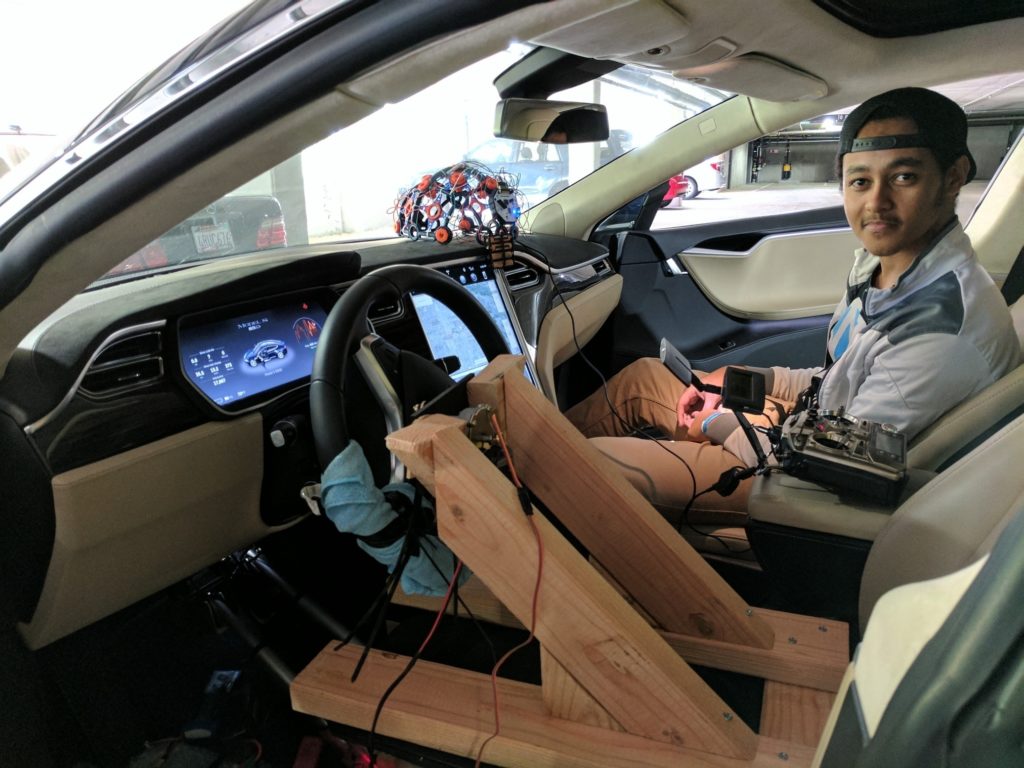
Casey Spencer and a few of his friends (Lorenzo Caoile, Vivek Vinodh, and Abenezer Mamo) recently engaged in a 36-hour hackathon hosted by UC Berkeley’s Cal Hacks 3.0. Their project’s objective? Navigate a Tesla into a parking space using brain wave-generated commands. Dubbed Teslapathic, it worked.
In short, the solution they created was enabled by the OpenBCI platform and an EEG headset. With the help of a machine learning algorithm, they trained the system to detect the brain waves associated with thinking the commands “Stop” and “Go”. The resulting waveforms were then translated into corresponding analog signals that were broadcast by an RC radio, which, via an Arduino-based controller, articulated the actuators on the pedals and a windshield wiper motor affixed to the steering wheel. And voila! A mind-controlled driving experience. Pretty cool.
With that brief introduction, we’ll let Casey walk us through the details.
***
The system begins with the OpenBCI platform. We positioned the nodes in the Ultracortex headset to focus on the user’s motor cortex. For increased accuracy, as the user thinks “Stop” or “Go,” he or she also visualizes moving specific body parts. For example, I thought of moving my right foot for “Go” and clenching my left hand for “Stop.” Associating muscle movement with the intended result yields more easily detected signal differentiation and also tends to increase mental focus. A signal profile of the user’s thoughts is then created by running training software to determine averages for when the user thinks the commands. We measured the signal from each node numerically then averaged them, using k-nearest neighbors signal processing to account for any outliers. Those averages acted as references for the inference engine when running. Upon execution of the deep learning inference engine running on a laptop, this profile serves as the reference for determining an outcome.
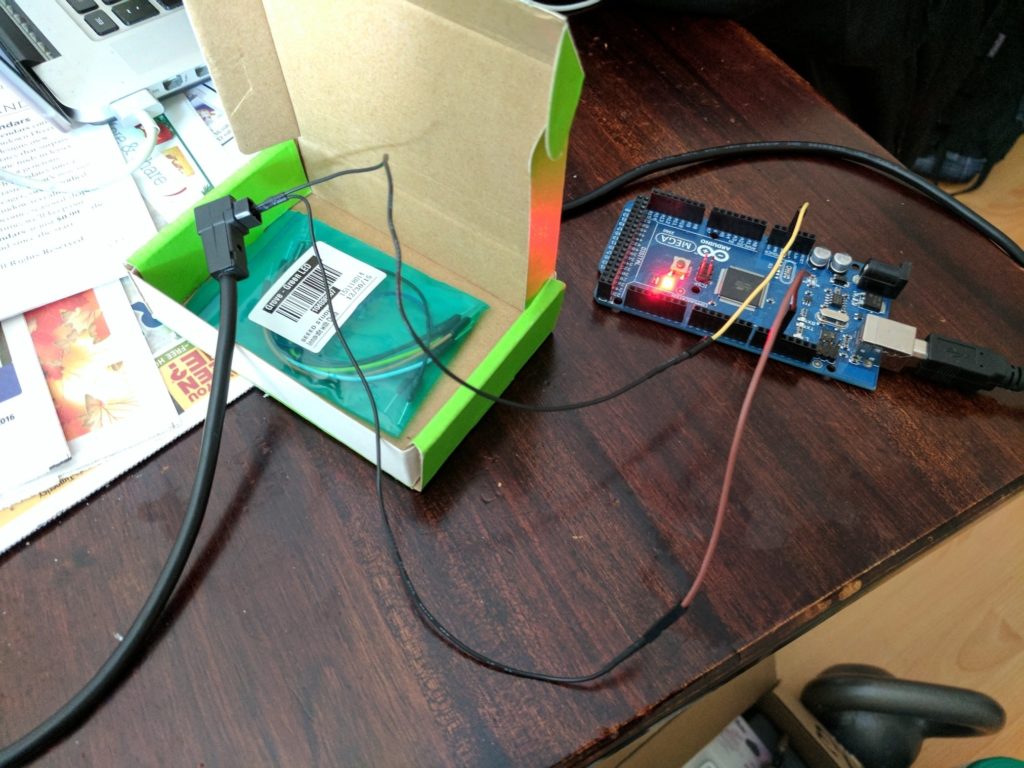
 Despite only having to determine one of two possible outcomes, in the event of an inconclusive result, the inference engine will default to a “Stop” result for safety purposes. After determining a result within the set confidence threshold, a simple “1” or “0” is passed to a connected Arduino. The wires were connected to pin 10 on the Arduino Mega 2560 for PWM and GND for—you guessed it—ground. We used the Arduino Mega simply because we had one on hand. RC PWM channel 1 was brake, channel 2 was accelerator, which is in turn tapped into the trainer port of an off-the-shelf Futaba T9CHP RC radio. In short, we exploited the radio’s trainer feature to allow for communication between the OpenBCI and the driving hardware.
Most hobbyist RC radios have what is called a “trainer port.” A student radio (or “slave” radio) is plugged into a teacher’s “master” radio through this port. This allows for a teacher to relinquish selective control of the RC vehicle to a student as long as a corresponding switch is held open, which makes training novice RC pilots safer and easier. For example, when teaching someone to fly an RC plane, the teacher would control take-off and bring the plane to a level heading. From there, the teacher would hold open the trainer switch and relinquish control of the plane to the student. Were the student to lose control of the plane, the teacher would release the trainer switch and regain input control and recover the flight.
In our case the “slave” was an Arduino communicating results from the inference engine. “Go” means decreasing the signal length in CH1 and increasing the length for CH2, which was relayed by the radio to the receiver, then the receiver to the motor controllers, resulting in the brake actuator receding and the accelerator actuator extending.
The trainer switch also made for an excellent dead man’s switch safety feature; if anything went wrong, I could release the switch and regain manual control of the actuators.
By having an Arduino mimic the PPM (pulse position modulation) timings sent by a slave radio, the T9CHP effectively becomes an analog pass-through and delivery method. When I first attempted this Arduino-to-radio interface I had to use an oscilloscope to find the right timings. Prior attempts were basically tantamount to looking for a needle in a haystack blindfolded. In retrospect, I probably could have just had the Arduino listen to the signal and record the timings, but oscilloscopes are much more fun! The PPM signal is manipulated in accordance with the user’s intent, e.g., stop or go, which results in articulation of the driving hardware.
PPM is a translation of an analog signal based on signal timing length. Essentially, when a signal is received, the PPM system translates signal positions into timing lengths, then carries out commands depending on how those signals correspond to their timing thresholds.
The head tracking gyro (an ImmersionRC Trackr2), which enables left-right movement, is spliced independently into the signal as well, inline between the Arduino and the radio. The RC receiver relays the gyro movement information to the wiper motor mounted to the steering wheel, and to the command positions to the linear actuators on the pedals. This was accomplished rather crudely: wood planks were placed at the base of the driver seat, and the actuators attached to the planks with 3M heavy-duty mounting tape. The actuators were then affixed to the pedals with industrial cable-ties. The tension between the pedals and wood planks was enough to support the actuators, and when extended, the actuators would anchor the planks against the seat. Admittedly a fairly delicate balance, but that’s by design—in an absolute worst case scenario I could have kicked away the actuators from the seat base and pressed the brake myself. We knew we’d be going very slowly over smooth road, so we weren’t worried about anything being jostled loose. A windshield wiper motor fitted with a potentiometer was mounted to the steering wheel.
“Go”—in the form of the corresponding analog signal—results in the brake actuator receding and the accelerator actuator engaging; “Stop” results in the opposite. Left and right movement from the head-mounted gyro results in left and right movement at the wheel.
Considering that communication with the hardware in the car is done through a wireless radio, technically, no one has to be inside the car while it’s being controlled. Still, we implemented multiple safety measures: an emergency brake in the Arduino portion of the code in case of failure; the requirement for the user to be holding a dead man’s switch in order for the signal to broadcast; a physical block wedged behind the accelerator pedal to prevent it from going too fast; allowing the user to take manual control through the radio at any time; and, if all else fails, the actuators were pressure fit so the user could simply kick them away from the pedals.
For the machine learning portion of the system, we used Scikit-Learn—a machine learning platform in Python that runs on a laptop. The challenge was in training our machine learning algorithms to clearly interpret the Go and Stop signals. This took a lot of refinement, but we managed to achieve a high degree of accuracy.
In the end, we were able to take a very complex idea and break it down into smaller parts that we could implement asynchronously. Most of all, we learned a great deal during this 36 hour journey.
About Casey Spencer
Casey personifies the phrase “Jack of all trades” and has been referred to as a modern-day Renaissance man. Since teaching himself how to build drones in 2011, he’s tried to learn from as many varied schools of thought as possible. His personal projects have ranged from mind-controlled drones and golf carts to 3D volumetric projectors, built while earning degrees in Psychology and English. His current work is focused on introducing young students to the psychological concepts behind virtual reality, where he hopes to demystify and encourage the pursuit of science. He is also seeking interesting opportunities or internships. Connect with him via LinkedIn (linkedin.com/in/casey-spencer) or Twitter (@Casey_S85D).
Learn more about the brain-computer interface here.
